Showing posts with label Ravioli. Show all posts

Pumpkin Ravioli with Sour Cream Sauce

Tuesday, November 29, 2011 - 
Pumpkin never goes out of season. I know this isn't just my opinion. Others clearly think the same. Examples include:
  • The sheer cry of "OMG, pumpkin spiced lattes are back!" as people enter the stores. Let's be honest though...real fans know the release date...it shouldn't surprise anyone.
  • Getting upset and vocally saying to a server at Cheesecake Factory "what do you mean you don't have pumpkin cheesecake yet? It is September after all!"  Settling for red velvet should never be a crime, but sometimes...
  • Getting concerned that a pumpkin shortage may strike again.
  • Having your husband say, "you talk like pumpkins have feelings." when you express how sad you are that some pumpkin don't get to leave the patch.
Clearly, I'm not saying these are prime examples of my behavior, but this gal does love her squash.

Surprising, being November 28, we still have fresh sage in the herb pot on our porch. Yes, we are the ones who haven't dug up the plants, or dried them for future use. We just let the parsley and sage be fall rock stars to say the least. I've utilized the sage on a weekly basis, not wanting to waste anything. But this projected snow may change all of that. It may be time to let go.Until then, I'll continue with the winter sage.

A classic preparation of pumpkin is pasta. Ravioli to be more specific. Normally, I make a brown butter and sage sauce for the rich ravioli, but this time around I tried something a bit different. We had sour cream in the fridge and I thought, "why not?"

Instructions and Ingredients
  1. Grab a pack of wontons or make your own pasta - whatever you are in the mood for. This time around, I grabbed wontons simply because I had them.
  2. Make or buy pumpkin puree. Take about a cup, add some spices (really, this is up to - think a bit of red pepper flakes, a dash of pepper, etc.) and a few fresh sage leaves chopped up. Simple.
  3. Make the ravioli by spooning about a teaspoon of the filling into a wonton wrapper and folding nicely (or messy - really up to you).
  4. Add ravioli to a boiling pot of salted water and cook until done - a few minutes will be perfect.
  5. While the ravioli are cooking, melt 2 tablespoons of butter and add 1/2 a cup of sour cream. Add some garlic powder, pepper and a chopped sage leaf and let it all come together to form a sauce. Serve over pasta, and sprinkle with some Parmesan and fried sage leaves if you'd like.
The pasta filling made around 3 dozen for me. We had some that night, freezed the rest (without the sauce) and had them a different night with leftovers for the next day.  The sauce above is enough for two servings - about a dozen raviolis. Make to your liking and tweak as you feel is appropriate by all means.

And then raise your fist and say "live on pumpkin. Live on."

Lobster Ravioli

Friday, February 4, 2011 - 
The ice/sleet/snow storm that Indy experienced this week lead me to have two days away from work and happily in the kitchen.  I had been meaning to make some lobster ravioli ever since we purchased the lobster from Festival Foods in Wisconsin, but just hadn't.  A snowy, icy day?  Perfect time to make some ravioli for dinner!

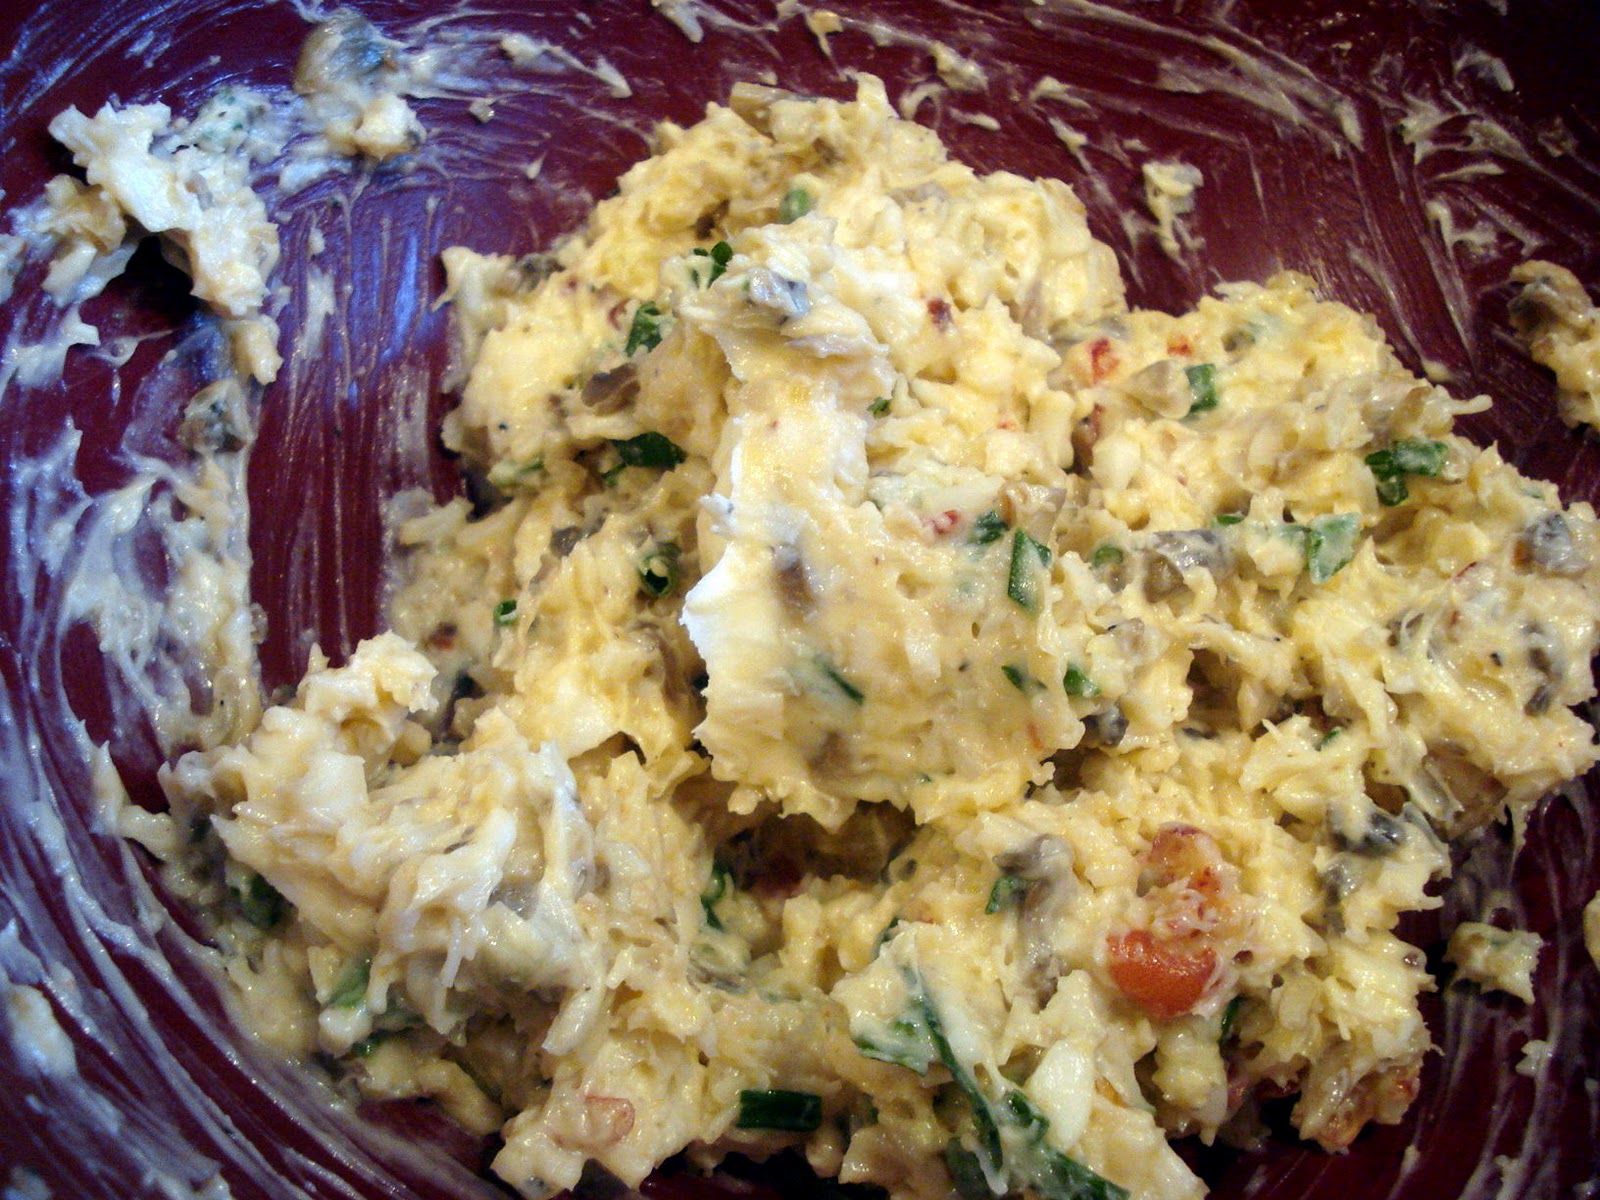
I began by making the filling.  I boiled the lobster tail in some water and seasoning, a pretty basic mix.  While that cooked, I prepped the other ingredients by chopping a shallot and some mushrooms I had on hand.  I sauteed both of these with some garlic in butter until soft.  I seasoned it up with some red pepper flakes, pepper and smidge of salt.  I then added the lobster to get all the flavors to really marry together.  I set this aside, let it cool, and added some Mascarpone cheese, chives and parsley for good measure.  I set it aside and started to work on my pasta.

For the pasta dough, I mixed flour, eggs, olive oil and bit of salt together in my mixer with the dough hook attachment.  I ended up adding a little water to get the texture that I wanted and let it sit for a bit before rolling it out.


I love our pasta maker attachment for the KitchenAid.  We use it way more than I ever thought we would.  I took this pasta class at Williams Sonoma a while back and from that moment, I had to have the pasta maker.  A great investment for our household, but that is because we like to make our pasta rather than buying it.  So after 20 minutes, I got to work with the dough by cutting it into four sections.  I hand pressed it a little and began feeding it through the roller.  If you have a roller, begin on the first setting and run it through a few items to get the elastic feeling in the dough.  Between passes, fold in the ends of the dough to make a tri-fold each time to get it mixed well.  Then, move on to setting 2 with one pass, setting 3, 4 and then 5 to achieve the length you desire. 
Once I had all the pasta rolled, I set them all by each other and dropped a hefty tablespoon of filling onto the sheets, leaving 1 to 1 1/2 inches between fillings.  Then, brush the edges around the filling with an egg wash mixture - this helps adhere the other dough that will be put on top.  When you drape the dough on top, really form the pockets of filling and ensure there isn't much air in the pockets.  Then, use a knife or pastry cutter to cut them out.  It sounds like a lot of steps, but in reality, it is just entertaining to do!


These boiled in salted water for a few minutes.  They cook up pretty quickly - when they float, they are ready for the brown butter and sage sauce that your hubby has made for the noodles.  The tasty sauce was simply brown butter on the stove with additions of balsamic vinegar, pepper, sage and other seasonings.  Do whatever you want in the sauce, it is where you can be creative!

It was a delicious dish and a great way to spend about one hour of my afternoon.  And the leftovers the next day were great! The noodles soaked up the butter and were just as delicious.

Did you recently have a snow day, and if so, cook anything delicious?